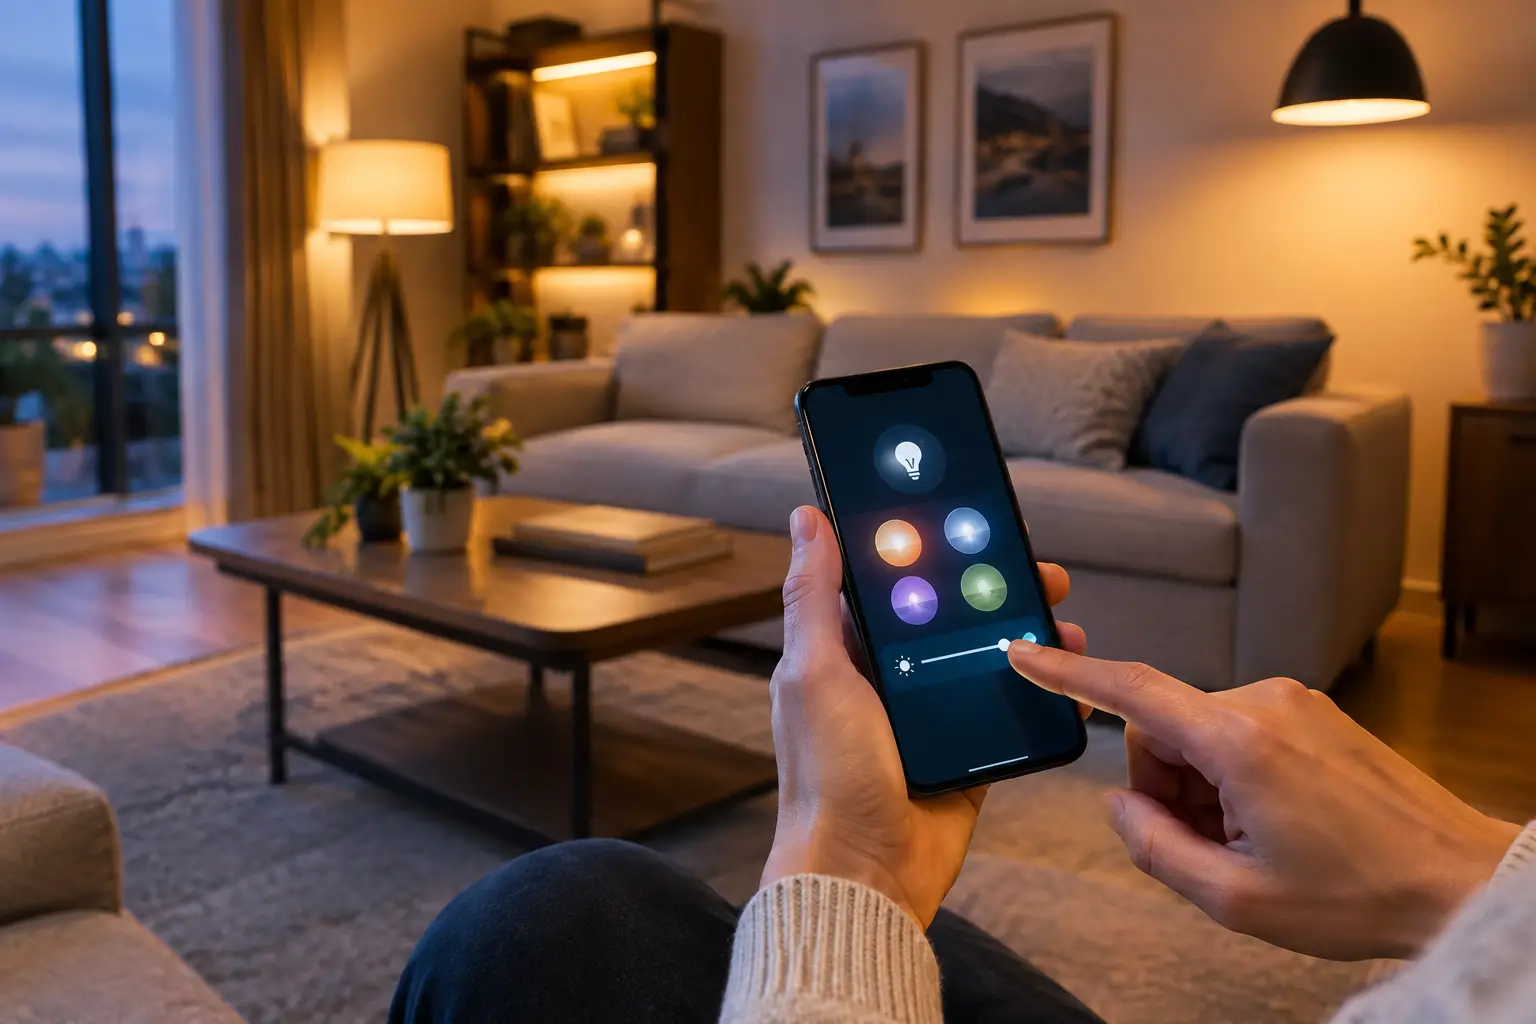
A front door that turns on exterior lights after sunset, a conference room that shifts to presentation lighting with one tap, and a home that appears occupied while the owner is away all start with the same process: configure smart lighting scenes around real routines. The goal is not to add more app controls. It is to reduce daily decisions, improve visibility, and make the property respond predictably when it matters.
Smart scenes can be simple, but a useful lighting plan needs more than a collection of dimming presets. It needs clear zones, dependable triggers, and settings that work for the people using the space. That applies whether the project is a single-family home, a vacation property, a retail location, or a multi-unit building.
Start With Activities, Not Devices
The fastest way to create scenes that actually get used is to begin with the activity. Walk through a typical day and identify moments when people repeatedly adjust lights, need better visibility, or want a property to look occupied.
For a home, those moments often include arriving after work, cooking dinner, watching TV, getting ready for bed, and leaving for a trip. A business may need opening, closing, cleaning, after-hours security, and presentation modes. Property managers may need common-area schedules that balance safety, utility costs, and tenant comfort.
Each activity should have a clear result. “Evening” is too vague. “Kitchen island at 80%, dining pendants at 45%, living room lamps at 30%, and landscape lights on” is a scene that can be configured, tested, and adjusted.
Before choosing automations, organize fixtures into logical zones. Avoid combining every light on a floor into one group just because they are physically close. A kitchen, for example, may need separate control for task lighting, decorative pendants, under-cabinet lighting, and adjacent dining fixtures. Good zoning gives scenes flexibility without making daily control complicated.
Build the Core Smart Lighting Scenes First
Most properties do not need dozens of scenes. Start with a small group that covers high-value routines, then add specialized scenes after the system has been used for a few weeks.
Arrival and Departure
An arrival scene should make entry safe and simple. It may turn on the entry, hallway, garage, and selected exterior lights, with different settings depending on whether it is daytime or nighttime. For larger homes, it can also disarm selected automation-related notifications or activate climate settings.
A departure scene should not blindly turn off every light. Someone may remain in the home, an employee may still be working, or exterior lights may need to stay on after sunset. Better configurations use confirmation through a wall keypad, app command, lock status, or occupancy logic. In commercial settings, a closing scene can turn off public-area lighting while keeping security and cleaning zones active.
Evening and Entertainment
An evening scene creates a comfortable baseline instead of forcing occupants to adjust individual fixtures. Use moderate brightness in active rooms, lower levels in transition areas, and exterior lighting based on local sunset times.
Entertainment scenes should prioritize the screen or gathering area. In a media room, that might mean recessed lights at 10%, accent lights at 25%, and blackout shades closed if they are integrated into the system. In a restaurant or showroom, the same concept can shift lighting to support the customer experience without leaving staff in the dark.
Night and Safety
Night scenes are most effective when they are restrained. A bedroom pathway at 10% is generally more useful than bright overhead fixtures that disrupt sleep. Bathrooms, hallways, stairways, and kitchens are common locations for low-level path lighting.
For security, connect exterior lighting to appropriate events such as a gate opening, a video analytics alert, or a doorbell press. The response should be intentional. Flooding the entire property with light can be disruptive and may create unnecessary neighbor concerns. A better approach is to illuminate the relevant entry path, side yard, or driveway for a defined period, then return to the normal evening scene.
Choose Triggers That Match the Risk
A scene can be started manually, on a schedule, by a sensor, or by another connected system. The best trigger depends on how costly an incorrect action would be.
Manual triggers are the most dependable for preference-based scenes such as “Movie,” “Dinner,” or “Presentation.” Use a keypad button, wall control, voice command, or app tile. For frequently used functions, a physical keypad is usually faster and more reliable than asking people to find the right screen in an app.
Scheduled triggers work well for predictable needs: exterior lighting at sunset, lobby lights before business hours, or a vacation scene that varies interior lighting in the evening. Use astronomical scheduling when possible so seasonal sunset changes do not require monthly updates.
Motion and occupancy sensors are useful in utility areas, restrooms, storage rooms, hallways, and common spaces. They require careful placement and timeout settings. A sensor with too short a timeout becomes irritating. One with too broad a detection area may turn lights on every time someone passes a doorway. Test real movement patterns before treating a sensor rule as finished.
Security-related triggers need the most thought. If a camera or door contact is used to activate lights, set rules for time of day, duration, and repeat events. Otherwise, a pet, delivery driver, or active street can create constant light changes and unnecessary alerts.
Set Brightness, Color, and Fade Times With Purpose
Brightness is not the only setting that affects usability. Color temperature and fade time often determine whether a scene feels comfortable or abrupt.
Warmer lighting is usually preferred for evening living areas and hospitality settings. Cooler, brighter lighting can be more suitable for task-oriented spaces such as kitchens, offices, workrooms, and garages. If tunable white fixtures are available, use a few dependable settings rather than constantly changing color temperature throughout the day. Complexity has a maintenance cost.
Fade times should suit the activity. A one- to three-second fade feels natural for most room scenes. Exterior security lighting may need to respond more quickly. A bedtime scene can fade over 15 to 30 seconds, giving occupants enough time to settle in without requiring another command.
Be careful with color-changing bulbs in primary lighting roles. They are useful for accent areas, events, and branded commercial environments, but full-color scenes can become inconsistent if fixtures from different manufacturers render colors differently. For most practical installations, reliable dimming and white-temperature control deliver more daily value.
Make Smart Lighting Work With Security and Access
Lighting scenes become more useful when they coordinate with security, access, and surveillance systems. A door unlock event can trigger an arrival scene. An armed-away command can activate a departure sequence. A gate opening can light the drive and front entry. These integrations improve awareness without forcing users to manage separate platforms.
There are limits. Do not make life-safety or security decisions depend entirely on consumer-grade lighting devices or a cloud connection. Exterior lighting can support surveillance, but it does not replace camera placement, monitored alarms, access control, or properly designed emergency lighting. For commercial properties, code requirements and operating needs should be reviewed before changing lighting schedules or controls.
A centralized design also avoids conflicting commands. If one app says the building is closed while another schedule turns lights back on, users lose confidence quickly. A professional configuration maps priorities in advance: security event, emergency requirement, manual override, business schedule, then convenience automation.
Test, Document, and Adjust After Installation
Scenes should be tested at the times they will actually run. A daytime test cannot confirm whether driveway lighting creates glare, whether a bedroom pathway is too bright, or whether a closing scene leaves an entrance unsafe.
Run each scene from every intended trigger. Check the wall keypad, app, schedule, sensor, and connected security event where applicable. Confirm what happens if the internet is down, a fixture is unavailable, or a user manually changes a light after the scene begins.
Document scene names, zones, trigger rules, and override behavior. Straightforward names prevent mistakes: “Close Office,” “Night Path,” and “Front Entry Alert” are better than generic labels such as “Scene 4.” For managed properties, documentation also makes staff training and future service far easier.
After two to four weeks, review what occupants actually use. If a scene is never selected, it may be poorly named, hard to access, or simply unnecessary. If people constantly override it, adjust the settings instead of assuming users will adapt. 1 Stop Security approaches connected-property systems as an organized operating environment, where lighting, security, and access functions should remain clear to the people responsible for the site.
A well-configured scene should disappear into the routine. When someone arrives safely, closes a business efficiently, or moves through a dark hallway without searching for a switch, the system is doing exactly what it was designed to do.