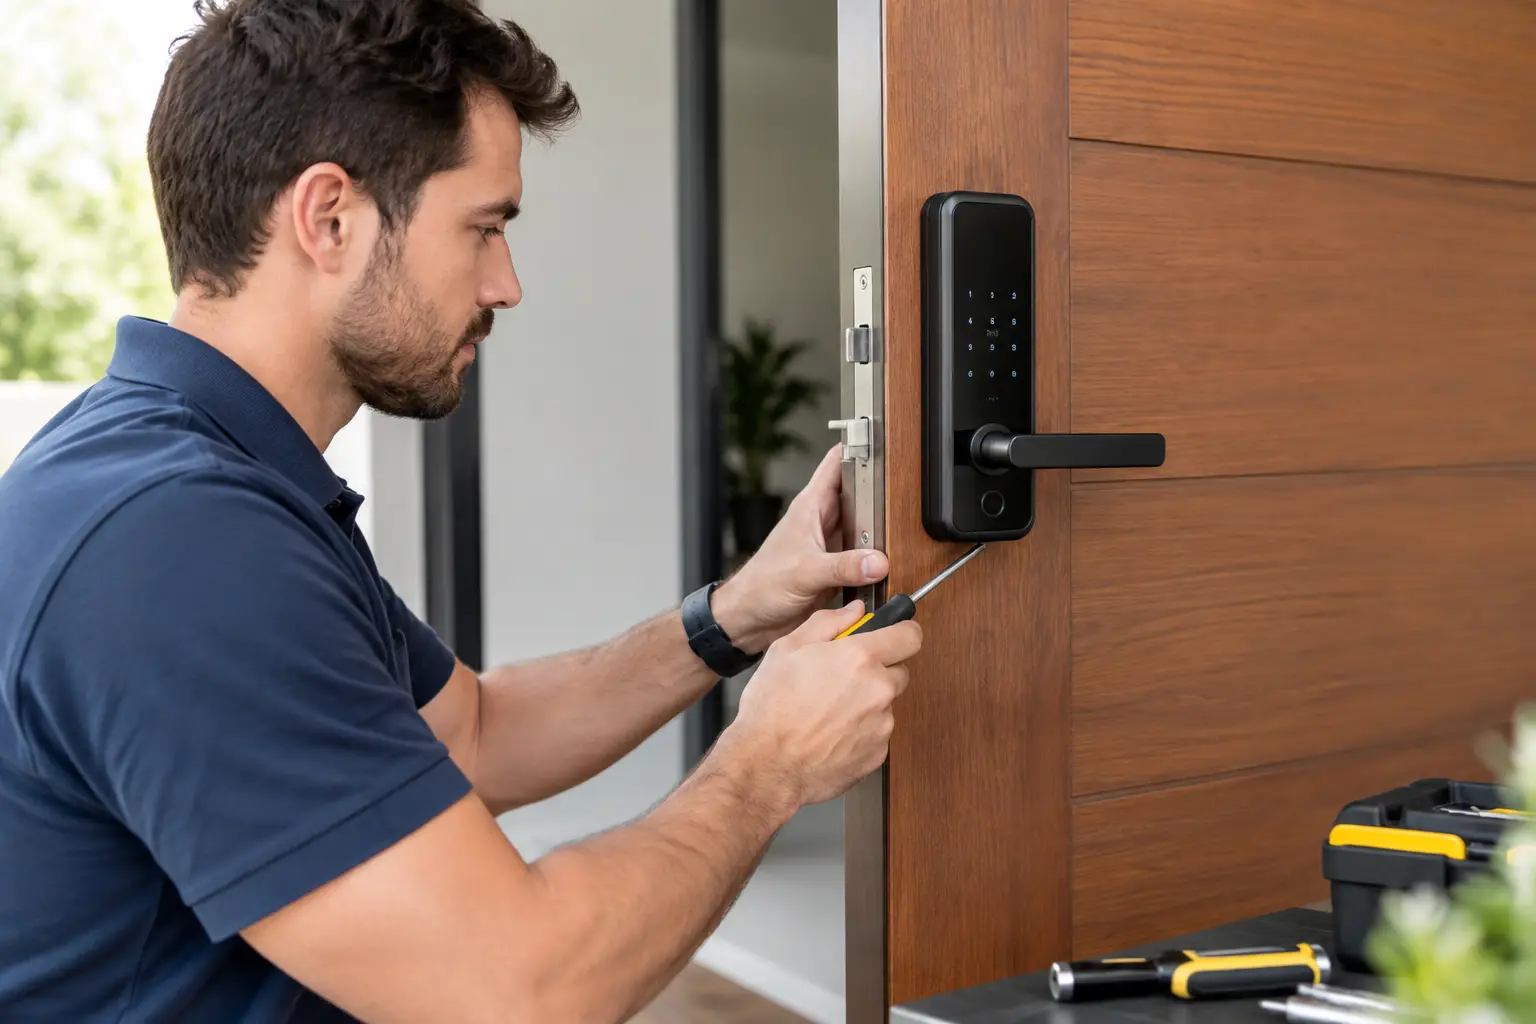
A smart lock can simplify access on the first day it is installed. It can also create a recurring problem if the door does not close correctly, the lock is poorly matched to the existing hardware, or user access is never organized. To install smart locks properly, start with the door and the access plan, not the app.
For a homeowner, that may mean replacing a front-door deadbolt and setting codes for family members, guests, and service providers. For a property manager or business operator, it may mean creating controlled access for tenants, staff, vendors, and maintenance teams across multiple doors. The hardware may look similar, but the planning requirements are not.
Start With the Door, Not the Lock
Most residential smart locks are designed to replace a standard single-cylinder deadbolt. Before selecting one, confirm the existing door can support it. Measure the door thickness, the bore hole diameter, the backset, and the distance between the deadbolt and handle. Also inspect the strike plate and the alignment between the latch bolt and door frame.
A lock can be compatible on paper and still perform poorly on a door that binds. If someone needs to pull, push, lift, or shoulder the door before the deadbolt turns, the issue is usually alignment, not the lock motor. A smart lock has less tolerance for resistance than a person turning a key by hand. Correcting a loose frame, worn hinges, misaligned strike, or weather-swollen door before installation prevents battery drain, failed lock cycles, and unnecessary service calls.
Door handing matters as well. Some models automatically determine whether the door swings left or right during setup. Others need a specific configuration. Confirm whether the lock supports your door style, especially on narrow-stile doors, metal-framed doors, double doors, gates, and doors with multipoint locking hardware.
Choose Hardware for the Access You Actually Need
The right smart lock is not always the model with the longest list of features. The decision should follow the property, the users, and the way access needs to be managed.
For a primary residence, keypad entry and mobile control are often enough. A keypad provides reliable access when a phone is unavailable, while mobile management lets the owner add or remove codes without rekeying the door. Physical key backup can still be useful for some households, particularly when a trusted neighbor, cleaner, or relative needs access during an outage or phone issue.
Rental properties often benefit from locks that support scheduled or time-limited codes. A temporary code for a guest, contractor, or showing reduces the need to exchange keys and makes access easier to document. The property manager should verify how codes are created, whether they work without an internet connection, and what happens if the lock loses power or connectivity.
Businesses and multifamily properties need a more deliberate approach. A consumer-grade smart deadbolt may be appropriate for a small office or low-traffic interior room, but it may not be the right fit for a busy commercial entrance. Door use frequency, fire and life-safety requirements, credential types, audit reporting, existing access control, and emergency egress all affect the design. In many commercial applications, an integrated access control system is a better operational choice than a stand-alone smart lock.
Verify connectivity before buying
Smart locks may use Bluetooth, Wi-Fi, Z-Wave, Zigbee, Thread, or a proprietary connection method. Each option has trade-offs. Bluetooth can work well for nearby phone access but generally needs a bridge or hub for dependable remote management. Wi-Fi offers direct remote control but can consume batteries faster. Z-Wave, Zigbee, and Thread often fit well within a broader smart-home or managed-property system, though they require compatible hubs and proper network planning.
Do not assume a strong Wi-Fi signal in the living room means the signal is strong at an exterior door. Concrete block construction, metal doors, masonry, distance from access points, and nearby equipment can all reduce performance. This is especially relevant in Florida homes and commercial buildings, where construction materials can make wireless coverage uneven.
Prepare the Door and Installation Area
Before removing the existing deadbolt, test it several times with the door open and closed. The bolt should extend and retract smoothly without excessive force. Take photos of the existing hardware and measurements. They are useful if you need to confirm the replacement fit or restore the original lock later.
Basic installation commonly requires a screwdriver, tape measure, pencil, drill, and possibly a strike-plate file or chisel. Avoid enlarging holes or modifying the door until you have reviewed the lock manufacturer’s template and instructions. A small error in bore placement can leave a visible gap, weaken the mounting area, or prevent the interior assembly from sitting flat.
When you remove the old lock, keep the exterior keypad or reader straight and level. Route any connecting cable through the correct opening without pinching or sharply bending it. Overtightening mounting screws can distort the assembly, while loose hardware can cause the lock to shift over time. Follow the hardware instructions for screw length as well. On some doors, an overly long screw can interfere with the internal mechanism or damage the door surface.
Install Smart Locks and Calibrate Them Correctly
After the lock is mounted, install fresh batteries from the manufacturer-recommended type and complete the mechanical test before connecting the lock to an app. With the door open, run the bolt repeatedly using the keypad, thumb turn, and mobile control if available. Then close the door and repeat the test.
This sequence matters. If the lock works with the door open but fails when it is closed, stop troubleshooting the software. Recheck the strike plate, bolt alignment, and door position. A motorized deadbolt should enter the strike opening without scraping or forcing the door into place.
Most models run a handing or calibration cycle after installation. This teaches the lock the travel distance of the deadbolt. Complete that process with the door in the position specified by the manufacturer. Skipping calibration can result in false jam alerts, incomplete locking, or inconsistent auto-lock operation.
Once the lock operates correctly, set the master credential immediately. Use a unique administrator code rather than a familiar number such as an address, birthday, or repeated digits. For properties with several users, assign individual codes instead of sharing one code among everyone. Individual credentials make it possible to remove access for one person without disrupting the rest of the household or team.
Set Access Rules Before You Hand Out Codes
A smart lock creates value through administration, not just remote control. Establish who can create users, who receives alerts, and how access will be removed when a tenant moves, an employee leaves, or a vendor’s work is finished.
For a home, the rules can be simple: permanent codes for household members, scheduled codes for regular service providers, and temporary codes for short-term visitors. For a business, document access levels by role. Staff may need weekday entry during scheduled hours, while managers may need broader access and vendors may need one-time or limited windows.
Review notification settings carefully. Alerts for every family member coming and going may become background noise. On the other hand, alerts for an after-hours entry, a door left unlocked, repeated failed code attempts, or low battery can be useful. Configure notifications around events that require action.
If the lock connects with cameras, alarms, lighting, or a larger access system, test the automation rules one at a time. For example, a valid credential might disarm a designated entry area or trigger a camera bookmark. That can be useful, but it should never compromise alarm procedures or allow a simple automation error to create an unsecured opening.
Plan for Power, Outages, and Physical Backup
Most smart locks run on batteries, so low-battery planning is part of the installation. Enable low-battery alerts and replace batteries on a schedule appropriate for traffic levels. A front door used several times a day will consume power differently than a seldom-used side door. Use the battery type specified by the manufacturer and avoid mixing old and new batteries.
Confirm the backup method before it is needed. Depending on the model, this may be a physical key, external emergency power contacts, or another approved procedure. Store backup keys deliberately. Leaving one hidden near the door defeats much of the security benefit.
Internet outages are another consideration. Many locks can still accept codes and operate locally when the internet is down, but remote app features may not work until service returns. For managed properties, that distinction should be clear to staff before relying on remote access for an emergency.
When Professional Installation Is the Better Option
A straightforward deadbolt replacement can be a reasonable DIY project on a well-aligned residential door. Professional installation becomes more valuable when the door needs repair, several locks must be standardized, access needs to integrate with cameras or alarms, or the property requires commercial-grade credential management.
It is also the practical choice for property managers and businesses that need consistent setup across units or locations. Hardware selection, door preparation, network coverage, user enrollment, documentation, and ongoing support should be handled as one coordinated scope rather than a series of separate fixes.
1 Stop Security can help organize smart lock installation with the larger security and connected-property systems already in place. The objective is simple: every authorized person gets reliable access, every door closes and locks correctly, and the property team has a clear process for managing changes.
A smart lock should reduce key handoffs and access confusion, not add another device that someone has to troubleshoot at the door. Start with proper door preparation, choose hardware that fits the property, and build access rules that remain workable after the first week of use.