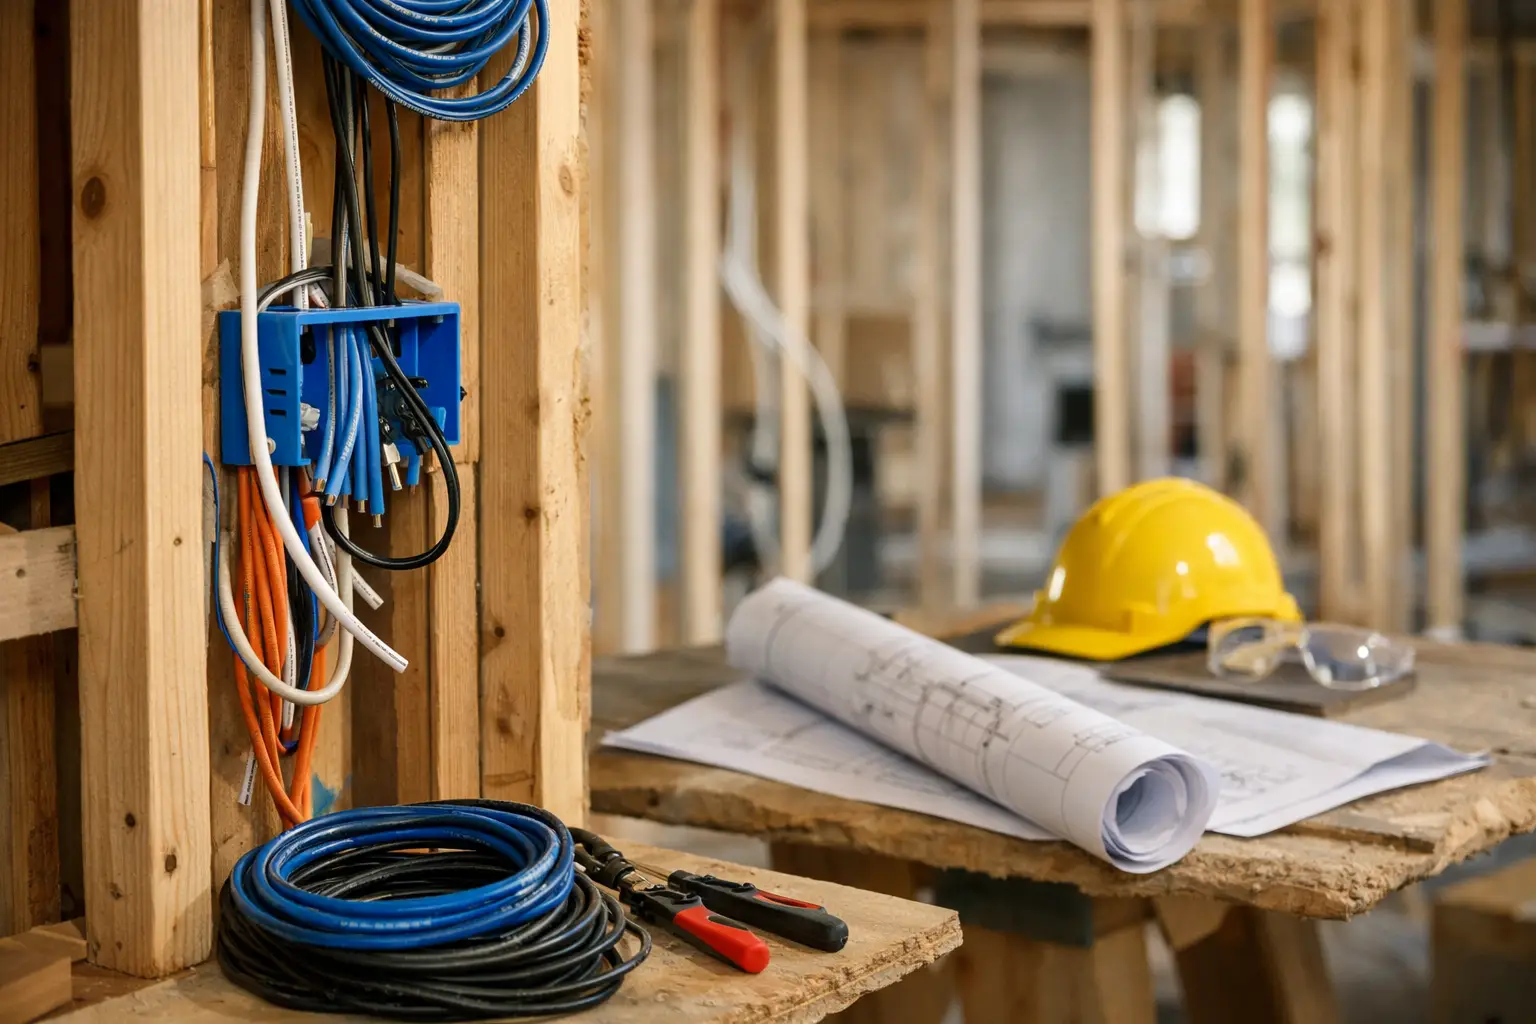
The least expensive time to install security, camera, network, and automation wiring is before drywall goes up. Knowing how to plan low voltage wiring early prevents the familiar last-minute problems: cameras with poor viewing angles, Wi-Fi dead zones, visible surface cables, and equipment closets with no power, cooling, or room to grow.
Low voltage planning is not simply a matter of pulling cable to a few locations. It is a coordinated design process that considers how the property will be used, where equipment will live, what systems need to communicate, and how the installation can be serviced years from now.
Start With the Way the Property Will Operate
Begin with the operational needs of the home, office, retail site, or multifamily property. A homeowner may prioritize perimeter cameras, whole-property Wi-Fi, doorbell video, and smart locks. A business may need access control at employee entrances, surveillance at cash-handling areas, a network for point-of-sale equipment, and coverage for warehouse or parking areas.
Walk the floor plan and identify each point where technology supports a real task. Focus on entrances, gates, delivery areas, common spaces, exterior approaches, mechanical rooms, offices, conference rooms, and areas where valuable assets are stored. For residential projects, include media locations, work-from-home spaces, outdoor living areas, and future locations for TVs or wireless access points.
The question is not just, "What do we need now?" It is also, "What will be difficult or expensive to add after finishes are complete?" A prewire should account for likely upgrades, especially in a property expected to be occupied for many years.
Create a System Map Before Selecting Cable
A clear system map keeps low voltage work organized. Mark the proposed location for each camera, access reader, motion detector, touchscreen, television, wireless access point, speaker, door contact, and data outlet. Then identify the head-end location where network equipment, security panels, recorders, and structured wiring will be installed.
This equipment location needs more planning than most people expect. It should be accessible to authorized staff or the homeowner, protected from moisture, and large enough for a rack or enclosure, power distribution, backup batteries, and cable management. Avoid placing it in a tight closet that shares space with cleaning supplies, water heaters, or high-heat equipment.
For commercial properties, the main equipment room may connect to smaller telecom closets on other floors or in distant areas of the building. Those paths should be planned alongside the electrical, HVAC, and fire-protection trades. A cable route that looks simple on a drawing can become impractical once ductwork and structural elements are in place.
Plan for Power, Internet, and Backup
Low voltage devices still depend on reliable power. The head-end should have properly located electrical receptacles, dedicated capacity where required, and enough space for surge protection and an uninterruptible power supply. Cameras, access control panels, network switches, and recorders may need to remain active during a brief outage.
Internet service entry also matters. Confirm where the service provider will terminate the connection and how that connection will reach the primary network equipment. A strong security or automation system cannot perform as intended if its network foundation is an afterthought.
Choose Cable by Function, Not Convenience
Different low voltage systems require different cable types. Category cable is commonly used for network connections, wireless access points, IP cameras, video doorbells, and many access control devices. Security sensors, keypads, speakers, and certain control systems may require specialty cable selected for the device and installation method.
Using one cable type everywhere may seem efficient, but it can limit performance or create compatibility issues. Cable selection should reflect bandwidth needs, power requirements, distance, outdoor exposure, fire ratings, and manufacturer specifications. For example, an exterior camera connection may require outdoor-rated cable and protection from lightning exposure, while a cable run through an air-handling space may need a plenum-rated jacket.
Fiber may be the right choice between buildings, across long commercial runs, or where electrical interference is a concern. It costs more upfront and requires different termination equipment, but it can provide capacity and distance that copper cable cannot.
Keep low voltage pathways separated from high-voltage electrical wiring according to applicable codes and installation standards. This reduces interference risk and makes the system safer and easier to service. The exact separation, pathway requirements, and permitted cable types depend on the project, local jurisdiction, and building conditions.
Design Camera Coverage From the Risk Outward
A camera placed only because there is a convenient soffit or corner may produce poor evidence when it matters. Start with the event you need to capture. At a front entry, that could mean identifying a visitor's face and seeing packages. At a vehicle gate, it may mean capturing vehicle movement, approach lanes, and access activity. At a loading area, coverage should account for deliveries, employee traffic, and blind spots behind trucks or dumpsters.
Mounting height, lighting, lens selection, viewing angle, and nighttime conditions all affect results. Wide views are useful for general awareness, but they do not always provide the detail needed for identification. A complete design often combines overview cameras with targeted coverage at doors, gates, registers, and other critical points.
Do not overlook camera service access. A location that requires a lift, roof access, or removal of architectural finishes for a minor adjustment will increase maintenance time later.
Build the Network for More Than Today's Devices
Smart properties rely on the network as much as they rely on the devices connected to it. Plan wired connections for fixed equipment whenever practical. Hardwired cameras, access points, televisions, workstations, and automation controllers are generally more dependable than relying solely on wireless connections.
Wireless access point placement should be based on coverage needs and building materials, not where a router happens to fit. Concrete block, metal framing, mirrors, dense cabinetry, and large appliances can affect signal performance. Larger homes and commercial sites may need multiple access points connected by cable to provide consistent coverage.
Allow additional capacity at the network switch and in the equipment enclosure. Extra ports, spare conduit, pull strings, and labeled pathways are inexpensive during construction and valuable after move-in. This is particularly useful when a property later adds cameras, EV charging management, smart irrigation controls, access points, or tenant technology.
Use Conduit Where Change Is Likely
Conduit is not necessary for every cable run, but it is one of the best tools for protecting future flexibility. Use it for routes that may need upgrades, difficult exterior paths, gate operators, detached buildings, display locations, and transitions through concrete or masonry.
A properly sized conduit with accessible pull points can save major disruption when technology changes. Leave a pull string in unused conduit and document both ends. Avoid sharp bends and overfilled pathways, since they make future pulls difficult or impossible.
In Florida, outdoor routing also deserves extra attention. Heat, humidity, heavy rain, salt air in coastal areas, and lightning exposure can affect equipment and cable longevity. Outdoor-rated materials, weatherproof enclosures, proper grounding practices, and protected pathways should be part of the design rather than an add-on.
Document, Label, and Coordinate the Installation
A clean installation is easier to manage because it is documented. Every cable should be labeled at both ends with a consistent naming system. The final project record should show cable destinations, equipment locations, pathway routes, network details, and any spare runs or conduits.
Coordinate low voltage work with framing, electrical, drywall, millwork, landscaping, and door or gate contractors. Access control wiring needs to reach the correct door frame and hardware location. Camera rough-ins need to avoid future light fixtures. Television and display locations may require backing, power, conduit, and data at the same point.
This is where a single-source contractor can reduce missed handoffs. At 1 Stop Security, system planning can bring security, surveillance, access-related technology, networking, and smart property needs into one organized scope instead of treating each as a separate project.
Avoid the Most Common Planning Mistakes
The first mistake is waiting until the trim stage to think about low voltage. By then, cable paths are limited and the project is forced toward compromises. The second is planning devices without planning the equipment room, power, and network that support them.
Another common issue is underestimating future needs. A few spare cable runs and pathways are usually far less expensive than opening finished walls later. Finally, do not assume every device should be wireless. Wireless technology is useful, but fixed, high-priority equipment benefits from a reliable wired backbone.
Before construction moves past the rough-in stage, review the plan on site with the installer and compare it to the actual framing, doors, ceiling heights, and exterior conditions. A few careful decisions at that point can keep the property easier to secure, operate, and expand long after the walls are closed.